Perfectly Chewy Drop Sugar Cookie Recipe (No Frosting Needed!) » Hummingbird High

About These Perfectly Chewy Drop Sugar Cookies
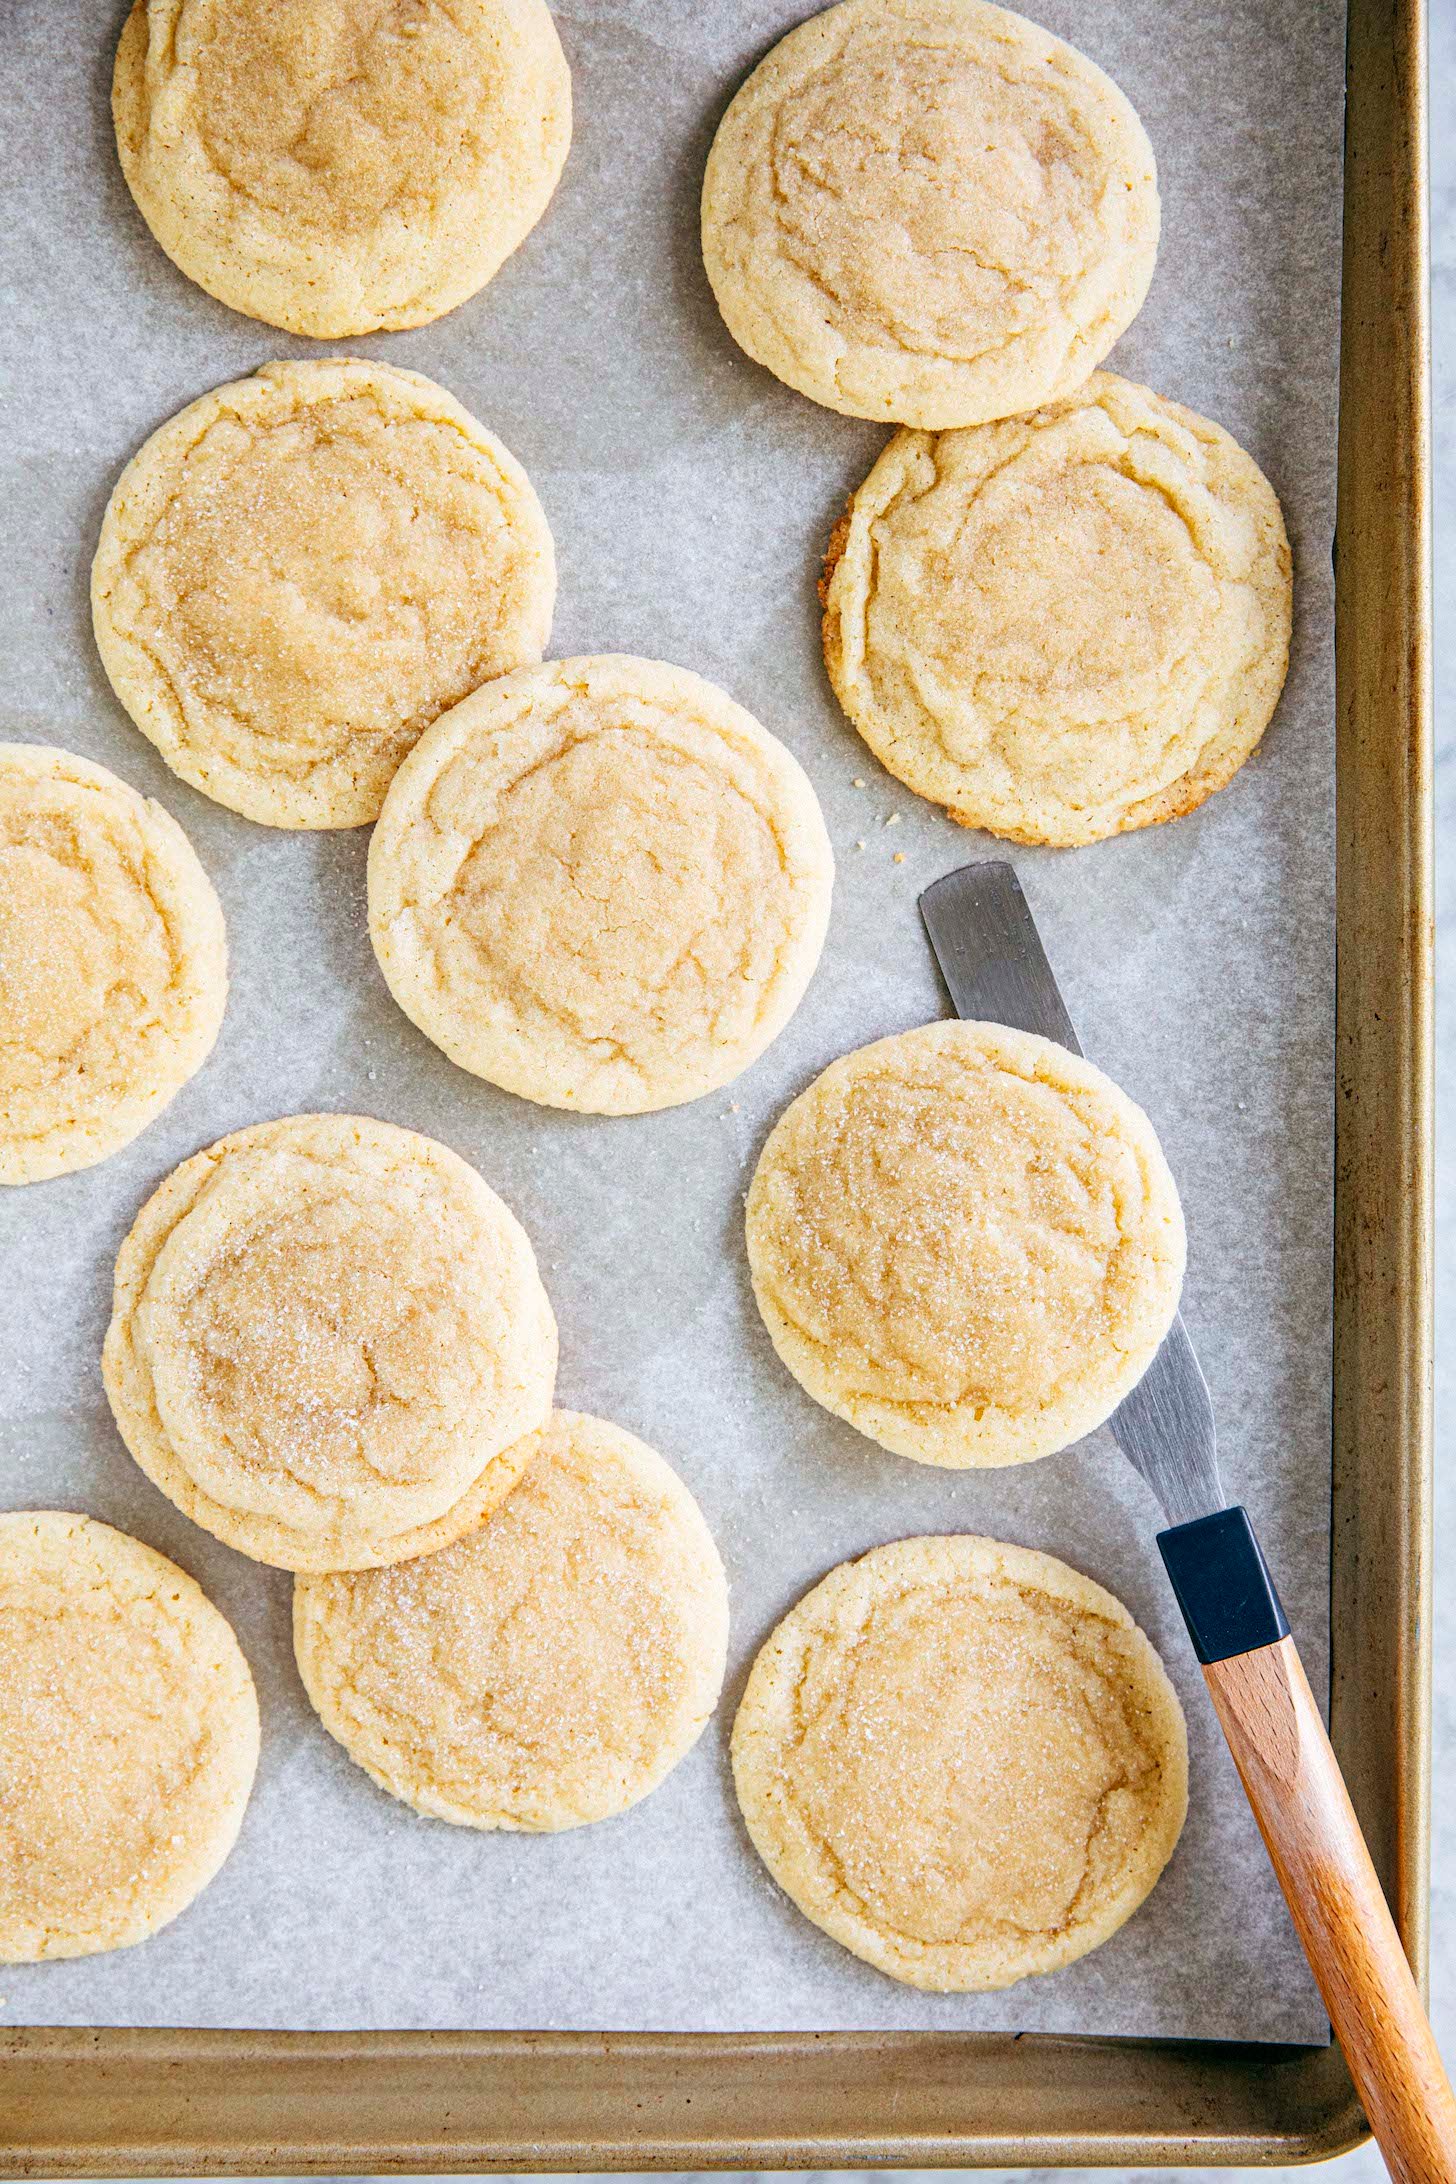
This drop sugar cookie recipe makes perfectly chewy, buttery sugar cookies—no cookie cutters or icing needed! The recipe instructs you to scoop the cookie dough like you would in a recipe for chocolate chip cookies or snickerdoodles.
Doing so makes a chewy cookie similar to a snickerdoodle or a chocolate chip cookie without the chocolate. If you like shortbread flavors of vanilla and butter, this drop sugar cookie recipe is perfect for you. It’s basically shortbread, but with a chocolate chip cookie exture.
You don’t need icing or frosting like you would a cut out sugar cookie recipe that requires you to roll the dough. The best part? Your pantry and fridge probably already has all the ingredients you need to make these cookies. No chilling of the dough requi
Looking for a cut out sugar cookie recipe perfect for the holidays? Check out my Best, Foolproof Cut Out Sugar Cookie Recipe!
For more perfect, chewy cookies on Hummingbird High, check out this popular Snickerdoodle Recipe Without Cream of Tartar and these Lavender Earl Grey Cookies.

Ingredients and Substiutions
Now that I’ve convinced you to make this easy drop sugar cookie recipe, here’s everything you need to make them:
Shopping List For The Recipe
Be sure to head to the recipe card to see the exact quantities of everything needed! Now, let’s talk about key ingredients and any potential substitutions:
Ingredient Sources and Substitutions

How To Make The Recipe
Here are the basic steps to make this perfectly chewy drop sugar cookie recipe:
- Preheat the oven and prep the ingredients for the recipe. (Prep Time: 5 minutes)
- Make the drop sugar cookie dough. (Work Time: 5 minutes)
- Portion the cookie dough and toss the dough balls in sugar. (Work Time: 10 minutes)
- Bake the cookies. (Bake Time: 10 minutes)
And here are some photos of key steps and processes in the recipe:


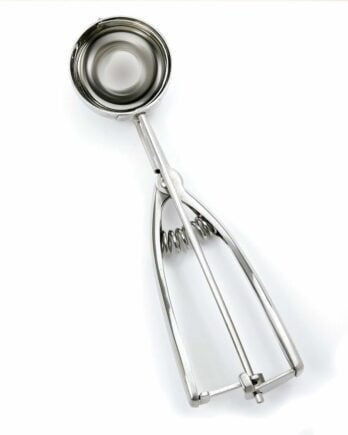
Norpro 3-Tablespoon (50MM) Stainless Steel Cookie Scoop
The fastest and easiest way to make picture-perfect cookies is to invest in a cookie dough scoop. These handy tools scoop the dough into dough balls that bake into perfect cookie circles every time.
Recipe Troubleshooting and FAQ
FAQ: Troubleshooting Unexpected Results
Help! My cookies came out too puffy. They didn’t sink after baking and don’t look flat like yours. What did I do wrong?
Okay, there are several things that could be responsible for overly puffy cookies:
You didn’t measure the ingredients properly.
If you used cup measures as opposed to weight measures, there’s a larger chance your cookies will come out puffy.
There’s a LOT of variation in how people use measuring cups. Somebody who scoops ingredients into a measuring cup and packs it down as they go will have a cup that has way more ingredients than somebody who simply scoops the flour into a cup and levels it off as its filled. This is why bakers love measuring by weight with a digital scale instead—it’s much more reliable and completely eliminates any inconsistencies!
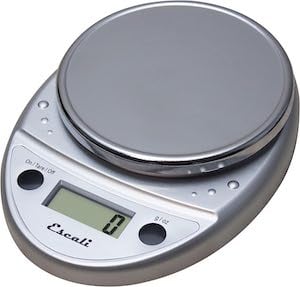
Escali Primo Digital Food Scale
A digital kitchen scale can save you a ton of time and cleanup when baking. A good scale—like this Escali Primo Digital Scale—offers readings in ounces and grams.
While these variations aren’t a big deal for many recipes, they can be a big deal for cookies. Specifically: if you pack a heavy cup of flour, your cookies will come out too puffy. They won’t fall and sink in the same way as mine did.
So to fill a measuring cup properly, you need to first set the measuring cup on a flat, level surface like your kitchen counter. Spoon the ingredient into the measuring cup until it forms a small mound within the cup. Use a butter knife or bench scraper to level off the mound so that the ingredient is flush with the top edges of the measuring cup.
Finally, if you’re measuring a dry ingredient that has a tendency to clump or get packed down (like flour, confectioners’ sugar, or cocoa powder), give it a quick whisk in its container first. Then, scoop the ingredient into the measuring cup as I described.
You deliberately (or accidentally!) reduced the sugar in the recipe.
Many people often deliberately reduce the sugar in baking recipes for health reasons, or for fear of the recipe being “too sweet.” But the fact is that sugar is in baking recipes for reasons beyond flavor and sweetness! In baking, sugar helps baked good spread evenly and consistently. It also adds moisture and color to the baked goods. If you went this route, it’s likely that your cookies will stay puffy and taste drier than mine.
But how do you accidentally reduce the sugar in the recipe? Similar to how you accidentally use too much flour in a recipe—by failing to use measuring cups and spoons properly. Read my instructions in the question above on how to scoop and fill a measuring cup the right way.
You are baking chilled cookie dough but didn’t thaw the dough slightly beforehand.
In the FAQ section below, I give you options to freeze your cookie dough for baking later. However, note that you’ll need to thaw the cookie dough slightly when baking from frozen.
What does that mean? Simply set the cookie dough out on a lined sheet pan (the same one you’re planning on baking the cookies on!) as the oven preheats. It usually takes about 10 to 15 minutes for most ovens to preheat. The 10 to 15 minutes out at room temperature will allow the cookie dough to thaw slightly and bake up nicely in the oven. If you skip this thaw, your cookies will come out puffy!
FAQ: Storing The Sugar Cookies
How To Store The Cookies
After baking, the cookies can be stored in an airtight container or zip-top bag at room temperature for up to 3 days.
Can you freeze the cookies?
Yes! You can freeze the cookies in the following ways:
- Freeze the UNBAKED cookie dough.
Follow the recipe instructions to make the cookie dough and scoop them out into cookie dough balls. Place the cookie dough balls in a small sheet pan. Cover the pan with plastic wrap and freeze for at least 1 hour, or until the cookie dough balls are frozen solid. Transfer the cookie dough balls to a zip-top bag and freeze for up to 1 year.To bake the frozen cookie dough balls, line sheet pans with parchment paper and position the cookie dough balls at least 3 inches apart on the sheet pans. Then, follow the recipe instructions to preheat the oven and coat the cookies in sugar. Bake for 12 minutes, or until the edges have set but the centers are still gooey.
- Freeze the BAKED cookies.
Individually wrap any leftover cookies in two layers of plastic wrap, then a layer of aluminum foil. The aluminum foil will prevent the cookies from absorbing any other flavors or odors in the freezer. When ready to serve, transfer to the refrigerator to chill overnight. Rewarm in the microwave or in the oven at 350°F for 5 minutes before serving.
Best Recipe Tips
Tips About Baking The Cookies
- I like to bake the cookies one pan at a time. I find that doing so makes the best cookies, ensuring that none of them have overly burnt bottoms or raw centers. However, to save time, you can bake two sheet pans at a time. Position a rack in the upper-third position of the oven, and a second one in the lower-third position of the oven. Bake a pan on each rack, swapping their positions half way through the Bake Time.
- If you find that the cookies are coming out with burnt or overly brown edges, don’t panic! Simply refrigerate the dough for an hour (scooped or otherwise) before baking.
A Tip About Customizing The Recipe
- This perfectly chewy drop sugar cookie recipe is great for customizing! You can add fruit zest and extract to give the cookies a zesty, fruity flavor like I did in this Chewy and Zesty Lemon Sugar Cookies recipe.
Get the Recipe:
Perfectly Chewy Drop Sugar Cookie Recipe (No Frosting Needed!)
This drop sugar cookie recipe makes perfectly chewy, buttery sugar cookies—no cookie cutters or icing needed! The recipe instructs you to scoop the cookie dough like you would in a chocolate chip cookie recipe.
Prevent your screen from going dark
-
Prep the oven and baking pans. Position a rack in the center of the oven and preheat the oven to 350°F. Line two half sheet pans with parchment paper.
-
Prep the sugar topping. Pour the sugar for the topping into a shallow bowl.
-
Mix the dry ingredients. In a medium bowl, whisk together the flour, baking powder, baking soda, and salt.
-
Cream the butter and sugar, then add the egg, vanilla, and dry ingredients. In the bowl of a stand mixer fitted with the paddle attachment, combine the sugar and butter. Beat on medium until light, fluffy, and doubled in volume, 2 to 4 minutes, using a rubber spatula to scrape down the bottom and sides of the bowl as necessary. Reduce the mixer to low and add the egg and vanilla, and beat until the mixture is smooth, about 1 minute. Scrape down the bottom and sides of the bowl.With the mixer on low, gradually add the dry ingredients and beat until just combined. Scrape down the bottom and sides of the bowl once more and beat on low for an additional 30 seconds.
-
Assemble the cookies. Use a 3-Tablespoon cookie dough scoop to portion the cookie dough into balls. Roll each in the sugar topping, covering them completely. Place the coated cookies at least 3 inches apart on the prepared sheet pans.
-
Bake the cookies. Bake one pan at a time for 10 minutes, or until the edges have set but the centers are still gooey. The cookies will look puffed when you pull them out of the oven, but will fall and crack into the perfect cookies as they cool. Cool the cookies on the pan on a wire rack for 20 minutes, or until the edges and bottoms of the cookies have set and feel firm to the touch. Repeat with the remaining cookie dough.
-
Serve and store. Serve warm or at room temperature. The cookies can be stored in an airtight container or zip-top bag at room temperature for up to 3 days.
- I like to bake the cookies one pan at a time. I find that doing so makes the best cookies, ensuring that none of them have overly burnt bottoms or raw centers. However, to save time, you can bake two sheet pans at a time. Position a rack in the upper-third position of the oven, and a second one in the lower-third position of the oven. Bake a pan on each rack, swapping their positions half way through the Bake Time.
- If you find that the cookies are coming out with burnt or overly brown edges, don’t panic! Simply refrigerate the dough for an hour (scooped or otherwise) before baking.
- This recipe is great for customizing! You can add fruit zest and extract to give the cookies a zesty, fruity flavor like I did in this Chewy and Zesty Lemon Sugar Cookies recipe.

buy the book
Weeknight Baking:
Recipes to Fit your Schedule
Over the past several years of running Hummingbird High, I kept a crucial aspect of my life hidden from my readers: I had a full-time, extremely demanding job in the tech world. In my debut cookbook, Weeknight Baking, I finally reveal the secrets to baking delicious desserts on a tight schedule.
Share this content:
Author: Hey PDX
Hey PDX Team


Post Comment